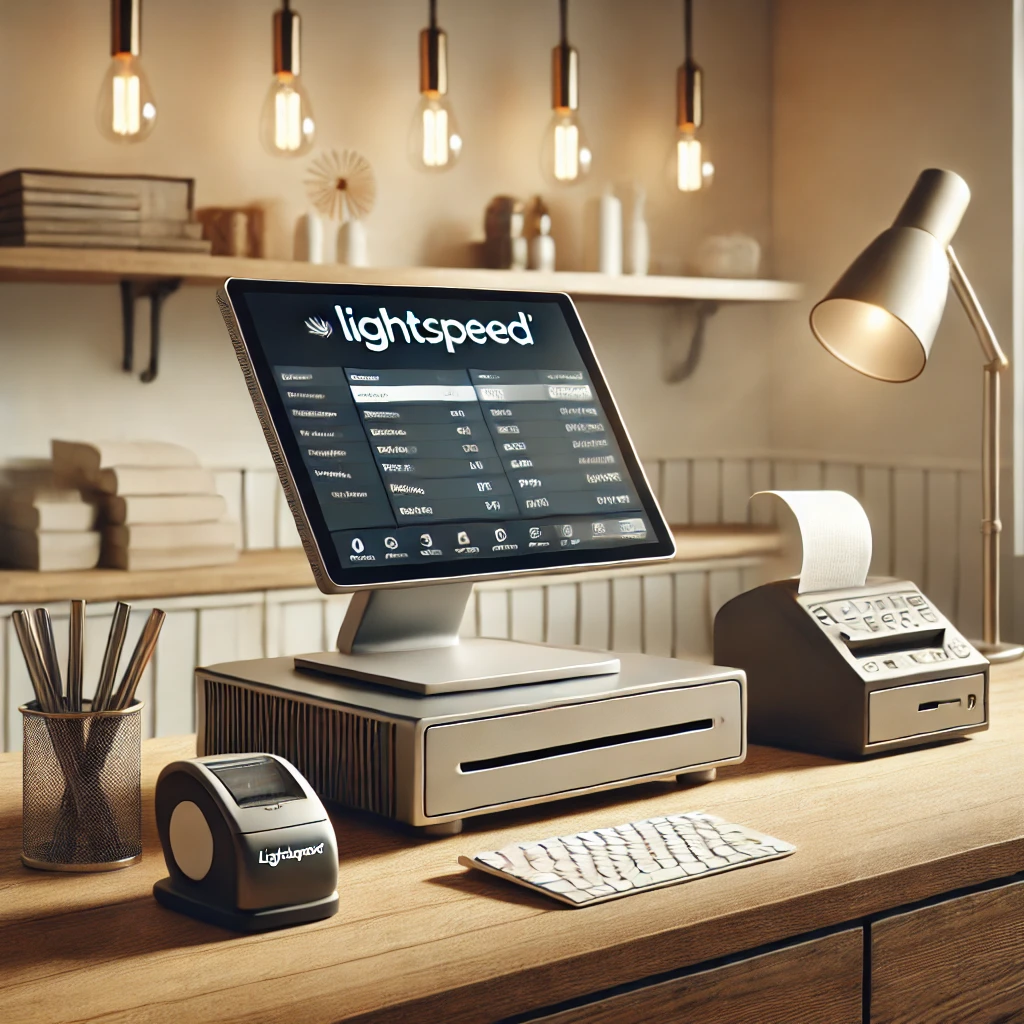
Setting up your Lightspeed POS hardware is an essential step toward creating a seamless and efficient operation for your business. Whether you manage a retail store, a restaurant, or a beauty salon, having the right hardware properly configured can enhance customer experience, streamline operations, and boost efficiency. This guide walks you through the setup process while highlighting the key considerations for various industries.
Why Proper Hardware Setup Matters
Your POS system’s hardware acts as the backbone of your business operations. From processing transactions to printing receipts and managing inventory, a correctly configured system saves time and reduces errors. Here’s why proper hardware setup is crucial:
- Retail: Fast and accurate checkout with barcode scanners and receipt printers.
- Restaurants: Efficient order management with kitchen printers and table tracking.
- Salons and Spas: Simplified scheduling and payment processes with touch-screen displays and booking integrations.
According to recent industry statistics, businesses that utilize integrated POS hardware see an average 20% improvement in transaction speed and a 15% reduction in customer wait times. When paired with robust POS software, your Lightspeed hardware setup ensures your business operates smoothly.
General Hardware Setup for Lightspeed POS
Follow these steps to set up your hardware:
1. Receipt Printers
- Connection: Connect your printer to your device using USB, Ethernet, or Bluetooth.
- Driver Installation: Install the appropriate driver for your printer model (e.g., Epson or Star Micronics).
- Configuration in Lightspeed:
- Navigate to Settings > Hardware.
- Click Add Printer and select your model.
- Assign the printer type (e.g., Receipt Printer, Kitchen Printer).
- Testing: Perform a test print through the hardware settings to ensure proper configuration.
2. Barcode Scanners
- Connection: Plug your scanner into the device or pair it via Bluetooth.
- Programming: Scan setup barcodes from the scanner’s manual to configure it for Lightspeed POS.
- Activation in Lightspeed:
- Go to Settings > Hardware > Barcode Scanner.
- Select and activate your scanner.
- Testing: Scan a product barcode to ensure it appears correctly in your system.
3. Cash Drawers
- Connection: Attach the cash drawer cable to your receipt printer.
- Configuration in Lightspeed:
- Go to Settings > Hardware > Cash Drawer.
- Link the drawer to the connected printer.
- Testing: Perform a test transaction to verify the drawer opens as expected.
Industry-Specific Setup Recommendations
Retail Businesses
Retail stores benefit from barcode scanners, scales, and receipt printers. Ensure:
- Inventory is updated in your POS software for accurate scanning.
- Scales are calibrated and linked to Lightspeed for weighted items.
- Customer-facing displays are configured for transparent transactions.
For example, a clothing store can streamline checkout by integrating barcode scanners with Lightspeed’s inventory management, ensuring stock levels are updated in real time.
Restaurants and Bars
Restaurants rely heavily on kitchen printers and table tracking systems:
- Set up kitchen printers with distinct locations for appetizers, main courses, and desserts.
- Use a tablet or iPad stand to simplify table-side order taking.
- Ensure your POS software supports split bills and custom modifiers for seamless order customization.
Imagine a busy pizzeria using Lightspeed to send orders directly to the kitchen printer, reducing miscommunication and speeding up preparation times.
Salons and Spas
For salons, efficiency lies in combining appointment booking and payment processing:
- Configure touch-screen displays for easy appointment scheduling.
- Use receipt printers for billing and service confirmations.
- Integrate a client display to show detailed pricing and loyalty points.
A hair salon, for instance, can use Lightspeed POS to book appointments, process payments, and track customer preferences, all in one system.
Troubleshooting Tips
Here are some common hardware issues and solutions:
- Printer Not Connecting: Ensure the device is on the same network as the POS system and restart both.
- Scanner Misreads: Recalibrate by scanning the setup barcodes in the manual.
- Drawer Won’t Open: Verify the connection to the receipt printer and ensure the correct port is selected in Lightspeed settings.
If issues persist, Lightspeed’s support team and community forums are excellent resources for resolving hardware-related problems.
Recommended Hardware for Lightspeed POS
To optimize your Lightspeed POS setup, consider these hardware options:
- Printers: Epson TM-T88 series or Star Micronics TSP100 series.
- Barcode Scanners: Zebra DS2208 or Honeywell Voyager.
- Card Readers: Lightspeed Payments-compatible models for seamless transactions.
- iPad Stands: Durable, secure mounts to keep devices in place.
FAQs
1. Can I use Lightspeed hardware across multiple locations? Yes, Lightspeed supports multi-location setups. You can configure hardware individually for each site within your account settings.
2. What is the average cost of a Lightspeed-compatible hardware setup? The cost varies by industry but typically ranges from $500 to $2,000, depending on the hardware you require.
3. How often should I maintain my POS hardware? Routine maintenance, such as cleaning printers and recalibrating scales, should be done monthly to ensure optimal performance.
Conclusion
Setting up your Lightspeed POS hardware doesn’t have to be overwhelming. By following this guide, you can ensure your receipt printers, barcode scanners, cash drawers, and other peripherals are properly configured for optimal performance. With the right hardware and POS software, your business can run efficiently, delighting customers and improving operations.
For more insights on selecting the best POS software for your industry, check out our dedicated guide on POS Software.


