

Setting up your Aloha POS Software properly is essential for optimizing business operations, enhancing customer service, and ensuring smooth transactions. Whether you own a retail store, restaurant, or beauty salon, following a comprehensive setup process can help you reduce errors, streamline inventory management, and maximize profitability. This guide offers step-by-step instructions for installing and configuring Aloha POS Software, covering key areas like inventory setup, business settings, and employee management.
For businesses looking for tailored POS Software Solutions, visit our website to explore industry-specific options for general retail, restaurants, and beauty salons. Let’s dive into the complete Aloha POS Software Setup process to get your business running efficiently.
1. What is Aloha POS Software, and Why is Proper Setup Essential?
Aloha POS Software is a powerful point-of-sale solution designed to handle transactions, track inventory, manage employees, and generate business-critical reports. It caters to various industries, including restaurants, retail shops, and beauty salons. Proper setup ensures that the system is customized to meet your unique business requirements, avoiding common errors and inefficiencies that can arise from incomplete or incorrect configurations.
Benefits of a Well-Configured POS System:
- Efficient Order Processing: Reduce waiting times and ensure accurate transactions.
- Improved Inventory Management: Track stock levels in real time and avoid overstocking or shortages.
- Enhanced Reporting: Generate actionable insights to improve decision-making.
- Stronger Security: Protect sensitive business and customer data with access controls.
2. Step 1: Installing Aloha POS Software
Download and Installation
- Obtain the software package from an authorized source or installation disk.
- Ensure that your system meets the necessary hardware and software requirements.
- Follow the on-screen installation wizard instructions.
Database Connection and Licensing
- Connect the software to your database or local server.
- Activate your license using the provided key.
Initial Setup Wizard
- Launch the setup wizard to configure basic options such as language, currency, and regional settings.
Pro Tip: Always back up important data before proceeding with the installation to prevent data loss in case of errors.
3. Step 2: Configuring Business Details
Business Information
- Enter details like your business name, address, and contact information.
- Set store operating hours and holiday schedules.
Tax Settings
- Configure applicable tax rates based on your location.
- For businesses with multiple tax zones, ensure you assign rates correctly to products or services.
Payment Methods
- Set up cash, credit, debit, and mobile payment options.
- Enable features such as split payments, partial payments, and tips (for restaurants).
Receipt Customization
- Add your business logo, promotional messages, and contact details to receipts.
- Customize receipt formats for different payment types (e.g., digital receipts for card payments).
4. Step 3: Setting Up Products, Menu Items, or Services
For Retail Businesses:
- Create Product Categories: Organize products into categories such as electronics, apparel, or groceries.
- Barcode and SKU Setup: Assign barcodes and SKUs for easier scanning and tracking.
- Initial Inventory Setup: Enter current stock quantities and reorder thresholds.
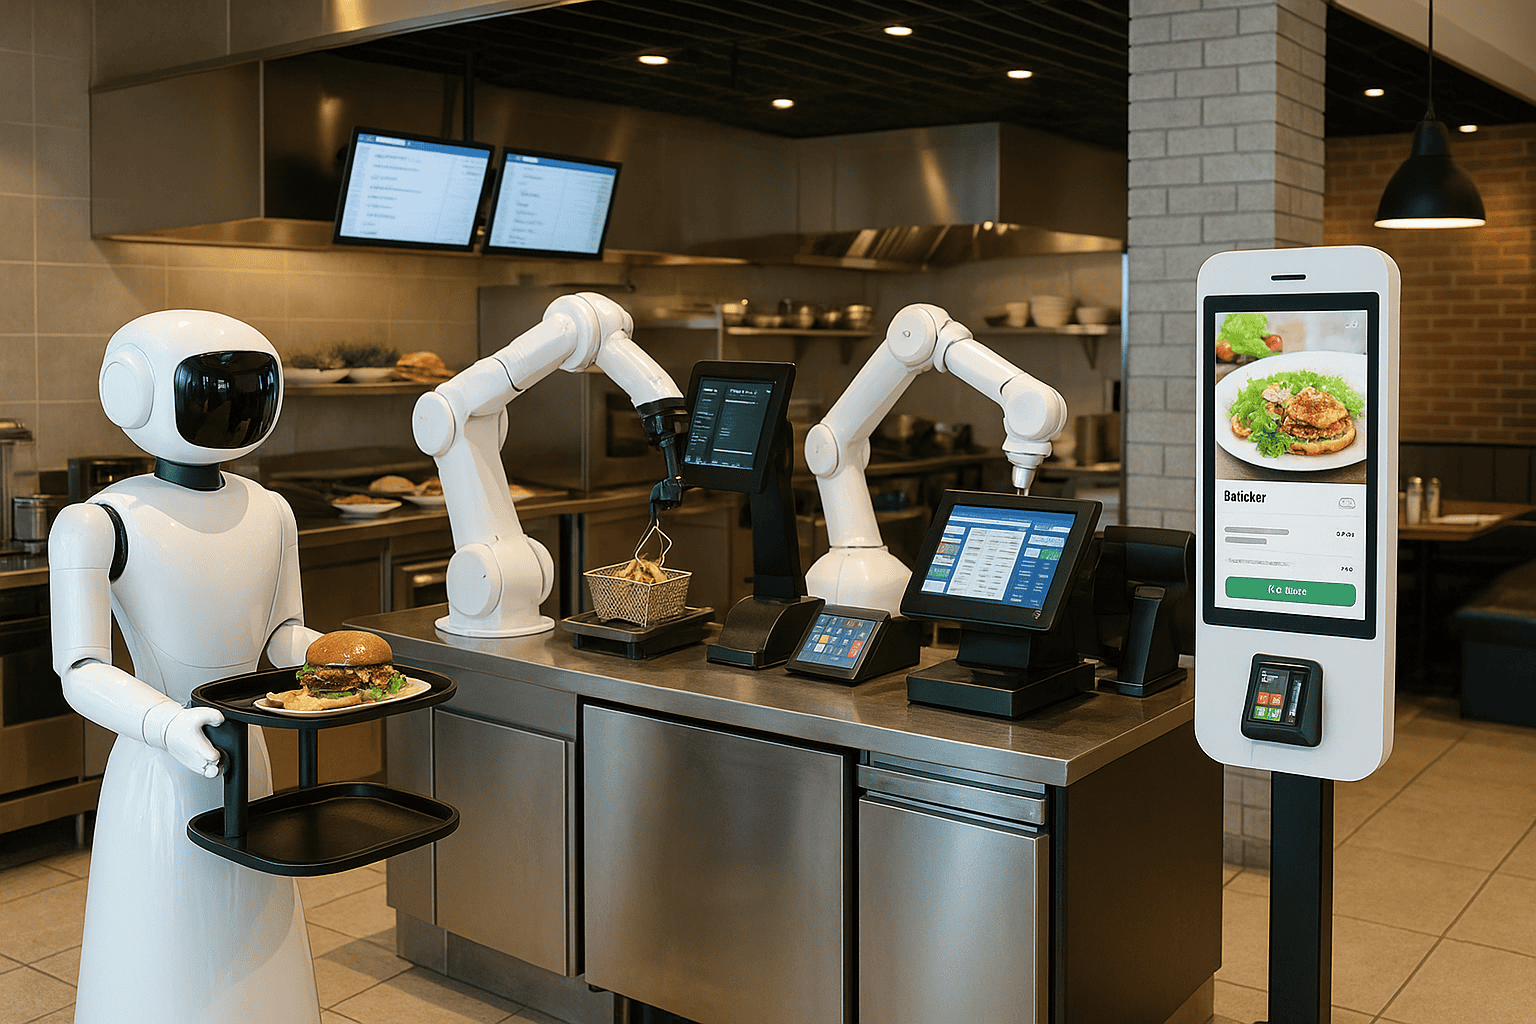
For Restaurants and Bars:
- Menu Configuration: Add food and beverage items under categories such as appetizers, main courses, and drinks.
- Modifiers: Include options like “extra cheese,” “no onions,” or “gluten-free.”
- Combo Deals and Upsells: Set up promotions like meal combos or drink pairings.
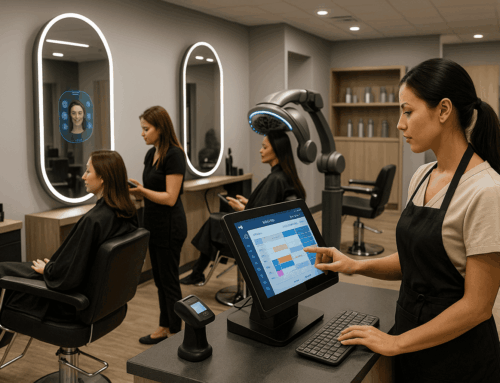
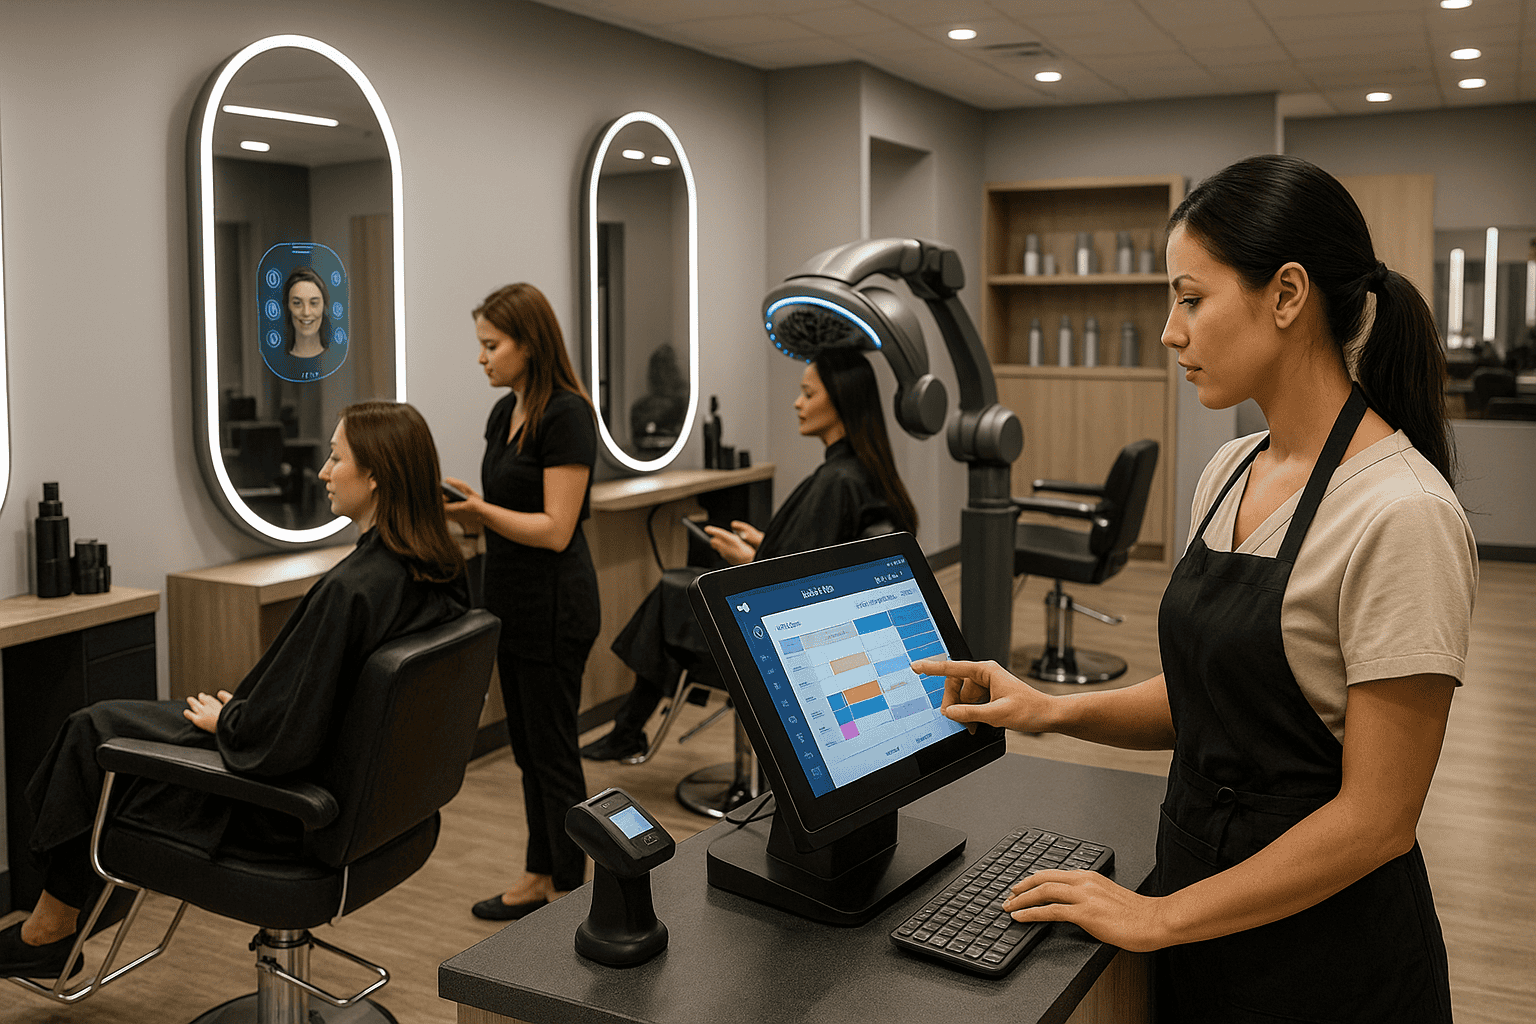
For Salons and Spas:
- Service Menu: List services such as haircuts, manicures, or massages.
- Appointment Durations: Assign time slots to services for scheduling efficiency.
- Inventory Linking: Connect consumables like hair dye or spa products to specific services.
Pro Tip: Link inventory items to sales to enable real-time stock updates and prevent overbooking services.
5. Step 4: Setting Up Employee Roles and Security Access
Create Employee Profiles
- Add employee profiles with unique login credentials.
- Assign roles (e.g., cashier, server, manager) based on responsibilities.
Define Access Permissions
- Restrict sensitive functions (e.g., refunds, voids, or report access) to authorized personnel.
- Use role-based permissions to balance security and operational efficiency.
Enable Time Tracking
- Track employee shifts and clock-in/out times directly through the POS system.
Security Tip: Implement multi-factor authentication for admin-level access to enhance security.
6. Step 5: Integrating Payment Processing
Payment Gateway Integration
- Connect to a payment gateway for credit card processing.
- Verify compatibility with your merchant account.
Setting Up Tips and Gratuities
- For restaurants, configure tip prompts and tip pooling features.
Gift Cards and Loyalty Programs
- Integrate gift card systems and customer loyalty programs to encourage repeat visits.
Pro Tip: Test payment processing by running sample transactions before going live.
7. Step 6: Configuring Reports and Analytics
Types of Reports:
- Sales Reports: Monitor daily, weekly, and monthly sales to identify trends.
- Inventory Reports: Track stock levels and detect shrinkage or waste.
- Employee Performance Reports: Assess staff efficiency and identify top performers.
Customizable Dashboards:
- Create custom dashboards to monitor key performance indicators (KPIs) in real time.
- Export data to external accounting software like QuickBooks or Xero.
Pro Tip: Schedule automatic reports to be sent to your email for easy access.
8. Step 7: Customizing the User Interface
Organize Menu Layouts:
- Arrange frequently used products or services for easy access.
- Color-code buttons by category (e.g., red for urgent items or promotions).
Enable On-Screen Notifications:
- Set up pop-up alerts for low stock, special promotions, or split-bill transactions.
9. Step 8: Training Employees and Testing the System
Hands-On Training:
- Provide training sessions for staff on daily operations, such as processing sales and handling refunds.
Mock Transactions:
- Conduct test transactions to ensure smooth functionality.
Common Error Scenarios:
- Train staff on handling declined payments, voided orders, and customer complaints.
Pro Tip: Create quick-reference guides for troubleshooting common issues.
10. Step 9: Troubleshooting Common Aloha POS Setup Issues
Login Issues:
- Ensure correct usernames and passwords for each user.
- Reset credentials if necessary.
Inventory Discrepancies:
- Verify that items are properly linked to inventory databases.
Payment Processing Errors:
- Check payment gateway connections and update configurations as needed.
For a detailed troubleshooting guide, visit our page on POS Software Solutions.
Conclusion
A properly configured Aloha POS Software system can help your business improve efficiency, increase sales, and enhance the customer experience. By following this comprehensive guide, you’ll be well-prepared to handle day-to-day operations with minimal disruptions.
If you’re looking for tailored POS Software Solutions, check out our website for industry-specific systems designed for retail, restaurants, and beauty salons. Contact us today to schedule a demo or get personalized setup assistance.


