
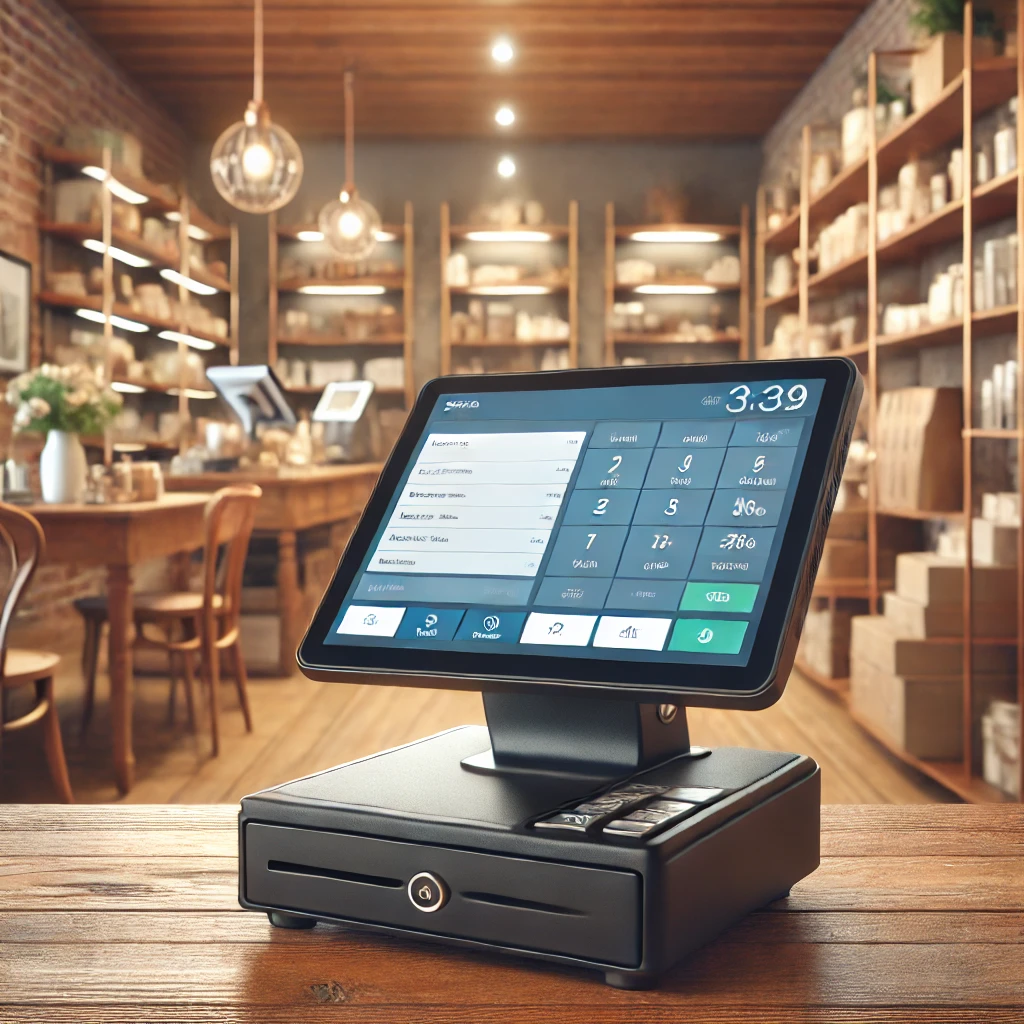
Setting up a POS system is a critical step for any business aiming to streamline operations, maximize efficiency, and improve customer experiences. Lightspeed POS is a versatile and powerful system designed to meet the unique needs of industries like retail, restaurants, and beauty salons. With features that enhance transaction speed, inventory accuracy, and overall business performance, getting your Lightspeed POS software setup right from the start is essential. In this guide, we’ll provide a comprehensive, step-by-step walkthrough to help you configure Lightspeed POS and begin serving customers effortlessly.
Step 1: Setting Up Your Lightspeed POS Account
The first step to success is creating and configuring your Lightspeed POS account. Start by logging in and completing the onboarding process.
Key Actions:
- Enter your business details: business name, location, and contact information.
- Set up tax rates and currencies specific to your region.
- Customize receipt settings, including logos and messages.
These foundational settings ensure your POS system aligns with your operational and legal requirements.
Tip: For businesses that deal with multiple locations, ensure you configure each store individually to maintain accurate sales reporting.
Step 2: Configuring Industry-Specific Modules
Lightspeed POS offers customization for different industries, making it suitable for diverse business types. Customization ensures that your system meets the specific requirements of your business, whether it’s managing a retail inventory, handling restaurant orders, or booking salon appointments. Here’s how you can tailor your POS for maximum efficiency, with real-world examples to highlight the process. Here’s a quick breakdown of how you can tailor the setup:
For Retail Businesses:
- Create product categories and subcategories.
- Set prices, discounts, and promotions.
- Enable features like loyalty programs and customer profiles.
Keywords to consider: retail software, bookstore software, electronics store software.
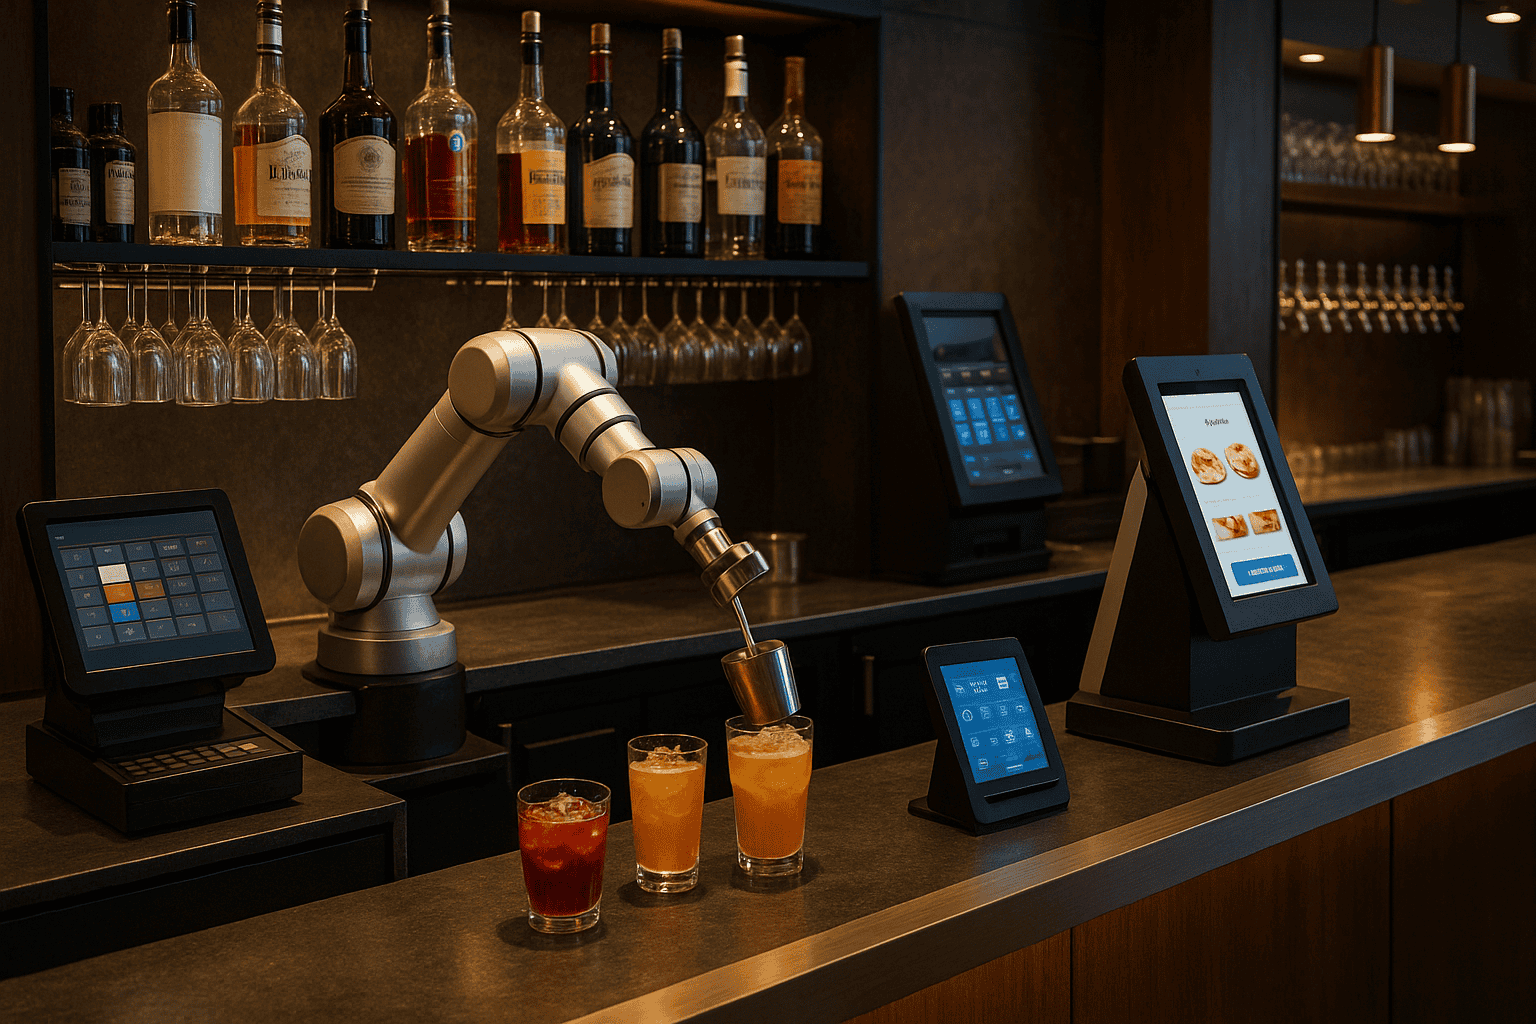
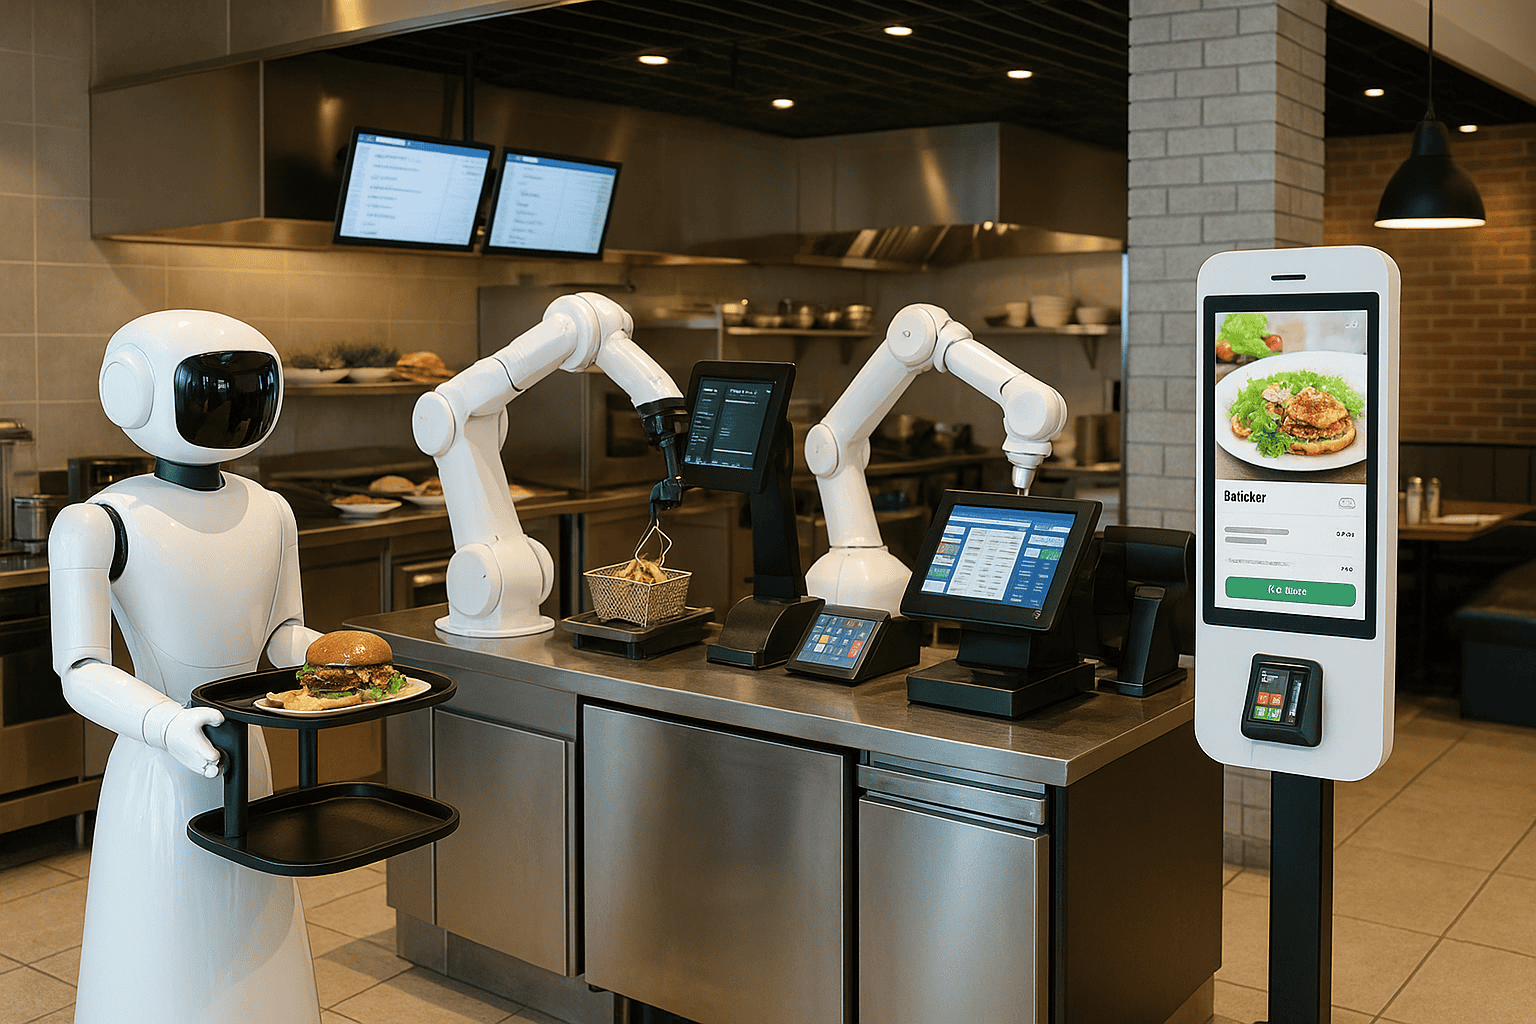
For Restaurants and Bars:
- Build menus and group items by category (e.g., appetizers, main courses).
- Set table management and floor layouts.
- Configure modifiers for menu items (e.g., extra toppings, substitutions).
Keywords to include: restaurant POS software, bar software, pizzeria software.
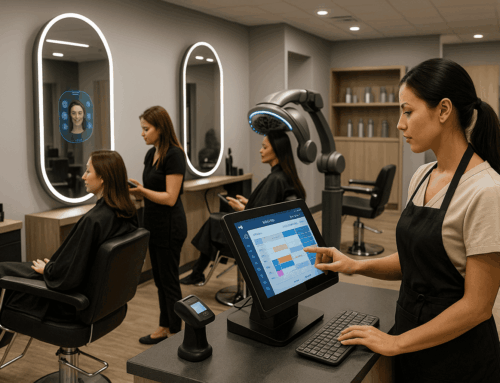
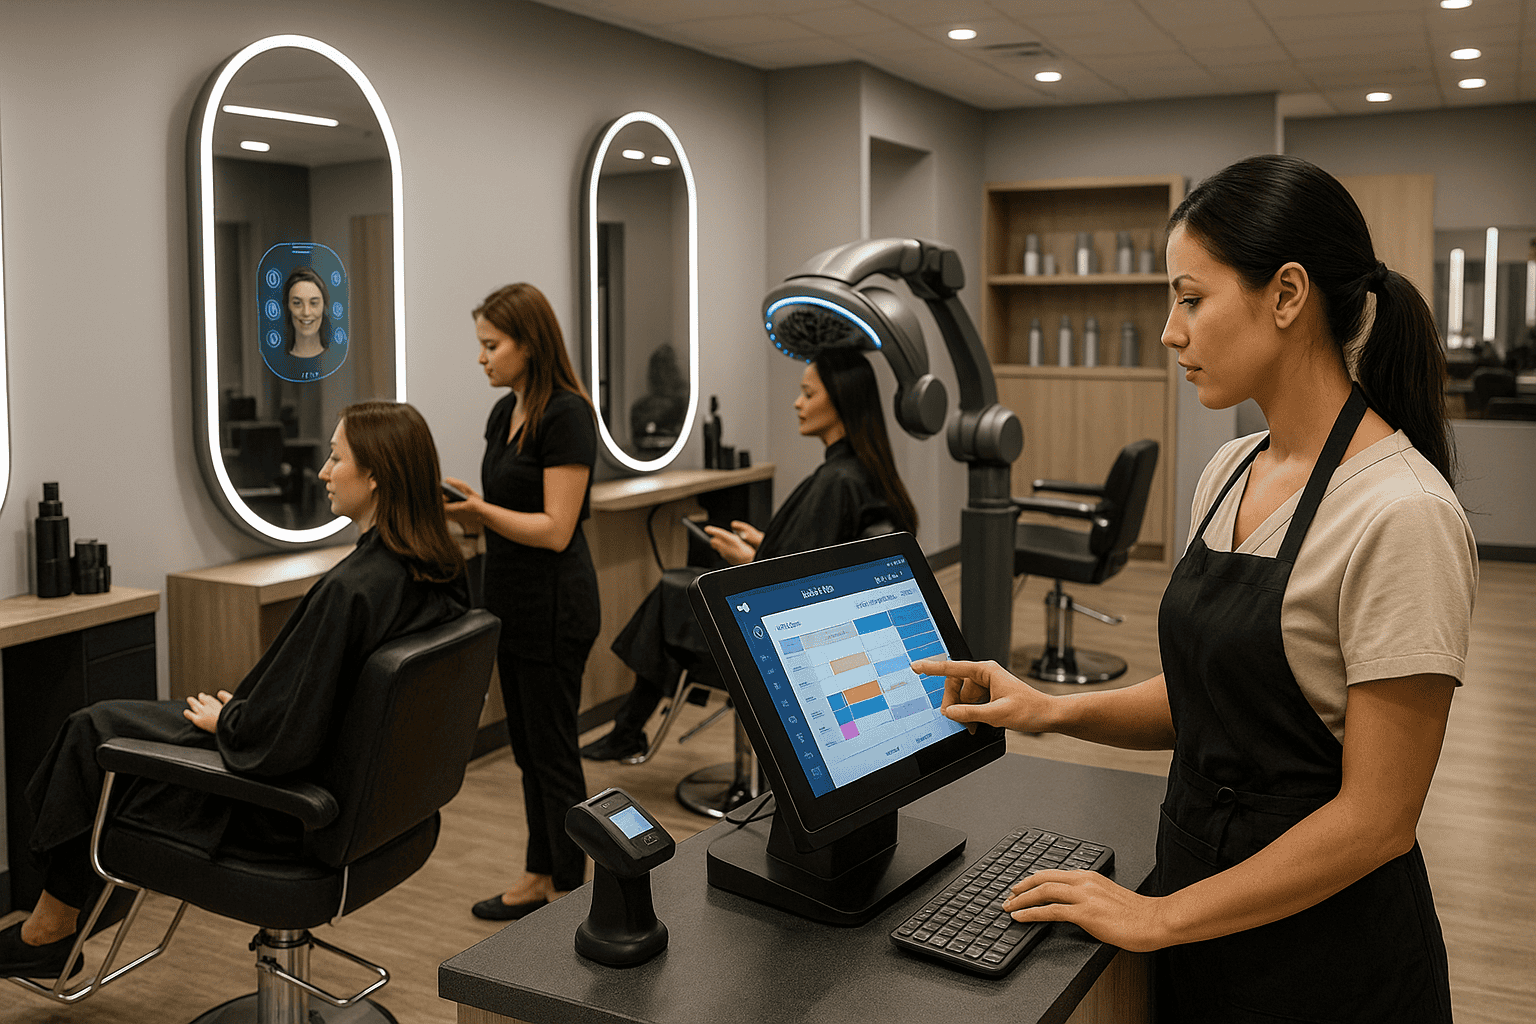
For Salons and Spas:
- Set up service menus and assign staff to specific services.
- Enable appointment scheduling and booking.
- Integrate product sales within the service workflow.
Keywords to include: salon software, spa software, nail salon software.
Step 3: Setting Up Inventory Management
Efficient inventory management is at the core of any successful business. Lightspeed POS allows you to track stock levels in real time, ensuring that you always have what you need on hand.
Adding Products Manually:
- Enter product details, including name, SKU, price, and quantity.
- Assign products to categories for easier navigation.
Bulk Product Import:
- For businesses with large inventories, use the CSV import feature to save time.
Important Note: Be sure to double-check product data after import to avoid discrepancies.
Relevant keywords: grocery store software, furniture store software, clothing store software.
Step 4: Configuring Payment Processing
To start processing sales, you need to set up payment options that suit your customers’ preferences. Lightspeed integrates with a variety of payment providers, ensuring flexibility and security. Whether you want to offer traditional payment methods or modern options like mobile wallets, setting this up properly is key to creating a smooth checkout experience. Lightspeed integrates with multiple payment processors to support a variety of payment methods.
Key Actions:
- Choose your payment provider and link it to Lightspeed POS.
- Enable payment options like cash, credit cards, digital wallets, and gift cards.
- Configure payment receipts and refunds.
This step ensures a smooth checkout experience for your customers while reducing errors during transactions.
Step 5: Setting Up User Roles and Permissions
To maintain security and control within your POS system, it’s essential to configure user roles and access permissions.
Key Actions:
- Create roles such as manager, cashier, and inventory clerk.
- Assign specific permissions based on job responsibilities (e.g., approving refunds, accessing reports).
- Limit access to sensitive information where necessary.
Security Tip: Ensure that only authorized personnel have access to critical functions like approving discounts or voiding transactions.
Step 6: Testing the System with a Trial Transaction
Before going live, it’s important to run a few test transactions to ensure everything is set up correctly.
Steps for Testing:
- Process a sale for a common item or service.
- Test different payment methods.
- Verify that the receipt prints correctly.
- Check inventory updates after the sale.
If you encounter any issues, refer to Lightspeed’s official troubleshooting documentation or contact their support team.
Step 7: Staff Training and Go-Live
Your POS system is only as effective as the team using it. Provide comprehensive training to your staff to ensure a smooth transition.
Training Tips:
- Conduct hands-on training sessions for different user roles.
- Emphasize key functions like processing sales, managing returns, and handling discounts.
- Create a quick-reference guide for common tasks.
Once training is complete, you’re ready to go live and start serving customers.
Common Challenges and Solutions
Even with a properly configured system, occasional issues can arise. Below, we cover common challenges and offer step-by-step solutions to keep your business running smoothly:
- Inventory discrepancies: Occur when physical stock doesn’t match the POS records. Solution: Perform regular stock counts, reconcile discrepancies, and use real-time inventory tracking features.
- Payment errors: Can result from incorrect payment configurations. Solution: Double-check the settings of your linked payment provider, ensure network stability, and test transactions periodically.
- Slow transactions: Can disrupt customer service during peak hours. Solution: Optimize system performance by reducing unnecessary background processes, clearing cached data, and updating the software regularly.
For more in-depth troubleshooting, check out our guide on POS Software Solutions to address specific issues. Here are some common challenges and quick fixes:
- Inventory discrepancies: Ensure regular stock counts and sync updates.
- Payment errors: Double-check payment provider configurations.
- Slow transactions: Optimize system performance by reducing unnecessary background processes.
For more troubleshooting tips, check out our guide on POS Software Solutions to address common setup issues.
Conclusion
Setting up your Lightspeed POS software correctly from the start can save you time, reduce errors, and improve overall efficiency. By following this guide, you can ensure that your POS system is tailored to your business’s unique needs and capable of handling daily operations seamlessly. Proper training and regular maintenance will further enhance its performance, allowing you to focus on what matters most—growing your business and providing excellent service to your customers. For ongoing support, be sure to explore our resources on POS Software Solutions and keep your system optimized for success. Whether you’re running a retail store, restaurant, or beauty salon, following these steps will help you unlock the full potential of Lightspeed POS. With proper training and configuration, you’ll be ready to process sales, manage inventory, and provide a seamless experience for your customers.


